


SUPPLIES
| ITEM | SIZE | AMOUNT | COLOR | PURCHASE |
|---|---|---|---|---|
| PEARLS | 6mm | 236 | WHITE | PURCHASE PEARLS |
| BEADS | 4mm | 90 | CRYSTAL AB | PURCHASE BEADS |
| BEADS | 4mm | 90 | VIOLET | – |
| FIRELINE THREAD | 6lb | n/a | CRYSTAL | PURCHASE THREAD |
| CLASP | n/a | 1 | SILVER-PLATED | PURCHASE CLASP |
| WIRE GUARD | n/a | n/a | n/a | – |
| SEED BEADS | 11 | 1 quarter vial | GALVANIZED SILVER | – |
| SEED BEADS | 8 | 25-45 | GALVANIZED SILVER | – |
| NEEDLES | #13 | 2 | n/a | – |
| SCISSORS | – | – | – | – |
| THREAD ZAPPER | – | – | – | – |
INSTRUCTIONS
Building The Base Of The Necklace
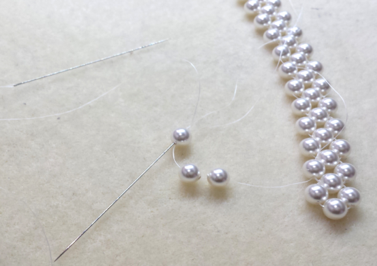
STEP 1: Prepare about two arm-spans of thread and thread a needle onto each end. (You can have an even longer length if you feel comfortable working with long thread.)
STEP 2: To start, you need to pick up 3 pearls on one needle, let them drop, pick up one more pearl on either end of the thread, slide it down on the needle and cross the opposite way through the last pearl. Pull that pearl so that you make your first loop of the necklace – this is your first diamond shape.
STEP 3: Repeat the above step: pick up one pearl onto each needle and let those drop; pick up one pearl with one needle and cross that needle the opposite way through that pearl and then when you pull the thread in the opposite directions, you have the next loop.
STEP 4: Continue as shown above; that is, one pearl picked up on each needle and a third pearl to cross with your needle the opposite way.
STEP 5: Keep on forming the boxes until you reach your desired length for the necklace.
Finishing Up The End And Adding The Clasp
STEP 6: Add 4 size 8 seed beads, thread on a wire guardian, making sure that your thread travels on the groove of the guardian, then let the clasp ring slide into the wire guardian before proceeding further.
STEP 7: Pick up 4 more seed beads and pass your thread into the centre pearl. Thread through the seed beads and wire guardian a couple of times to reinforce the grip of the wire guardian. On the last pass through the pearl add at least three knots to make your piece strong and durable.
Adding The Third Row Of Pearls On The Base Necklace
Note: At this point, it is a good idea to start with a new piece of Fireline so you can thread on as much as possible, 1 and a half arm span is suggested, or as much as you feel comfortable working with.
STEP 8: Choose the left or right side of the necklace to work with, then thread through the 5th pearl (Pearl #5) from the end. Place the needles down on both sides of the pearl.
 With the left thread, string 3 pearls as you’re coming out of pearl #5.
- Take the thread on the right and thread it through the newly added pearl #3.
- After pearl #3 is threaded through, bring the left thread and thread it through the next adjacent pearl and slowly pull the thread taut; at this point, you get a group of 6 pearls making this the beginning of the third row on your phone.

[/vc_column_text][vc_column_text]*** The next step requires adding two pearls only to form the next diamond.
Following the same steps as above add two pearls on your left thread, each time threading through the last pearl with your other thread, approaching from the right side of the piece, which is then threaded through the next adjacent pearl.
STEP 9: Continue on until the other end of your work is reached; then follow steps 6 & 7 to add the remaining side of the clasp.
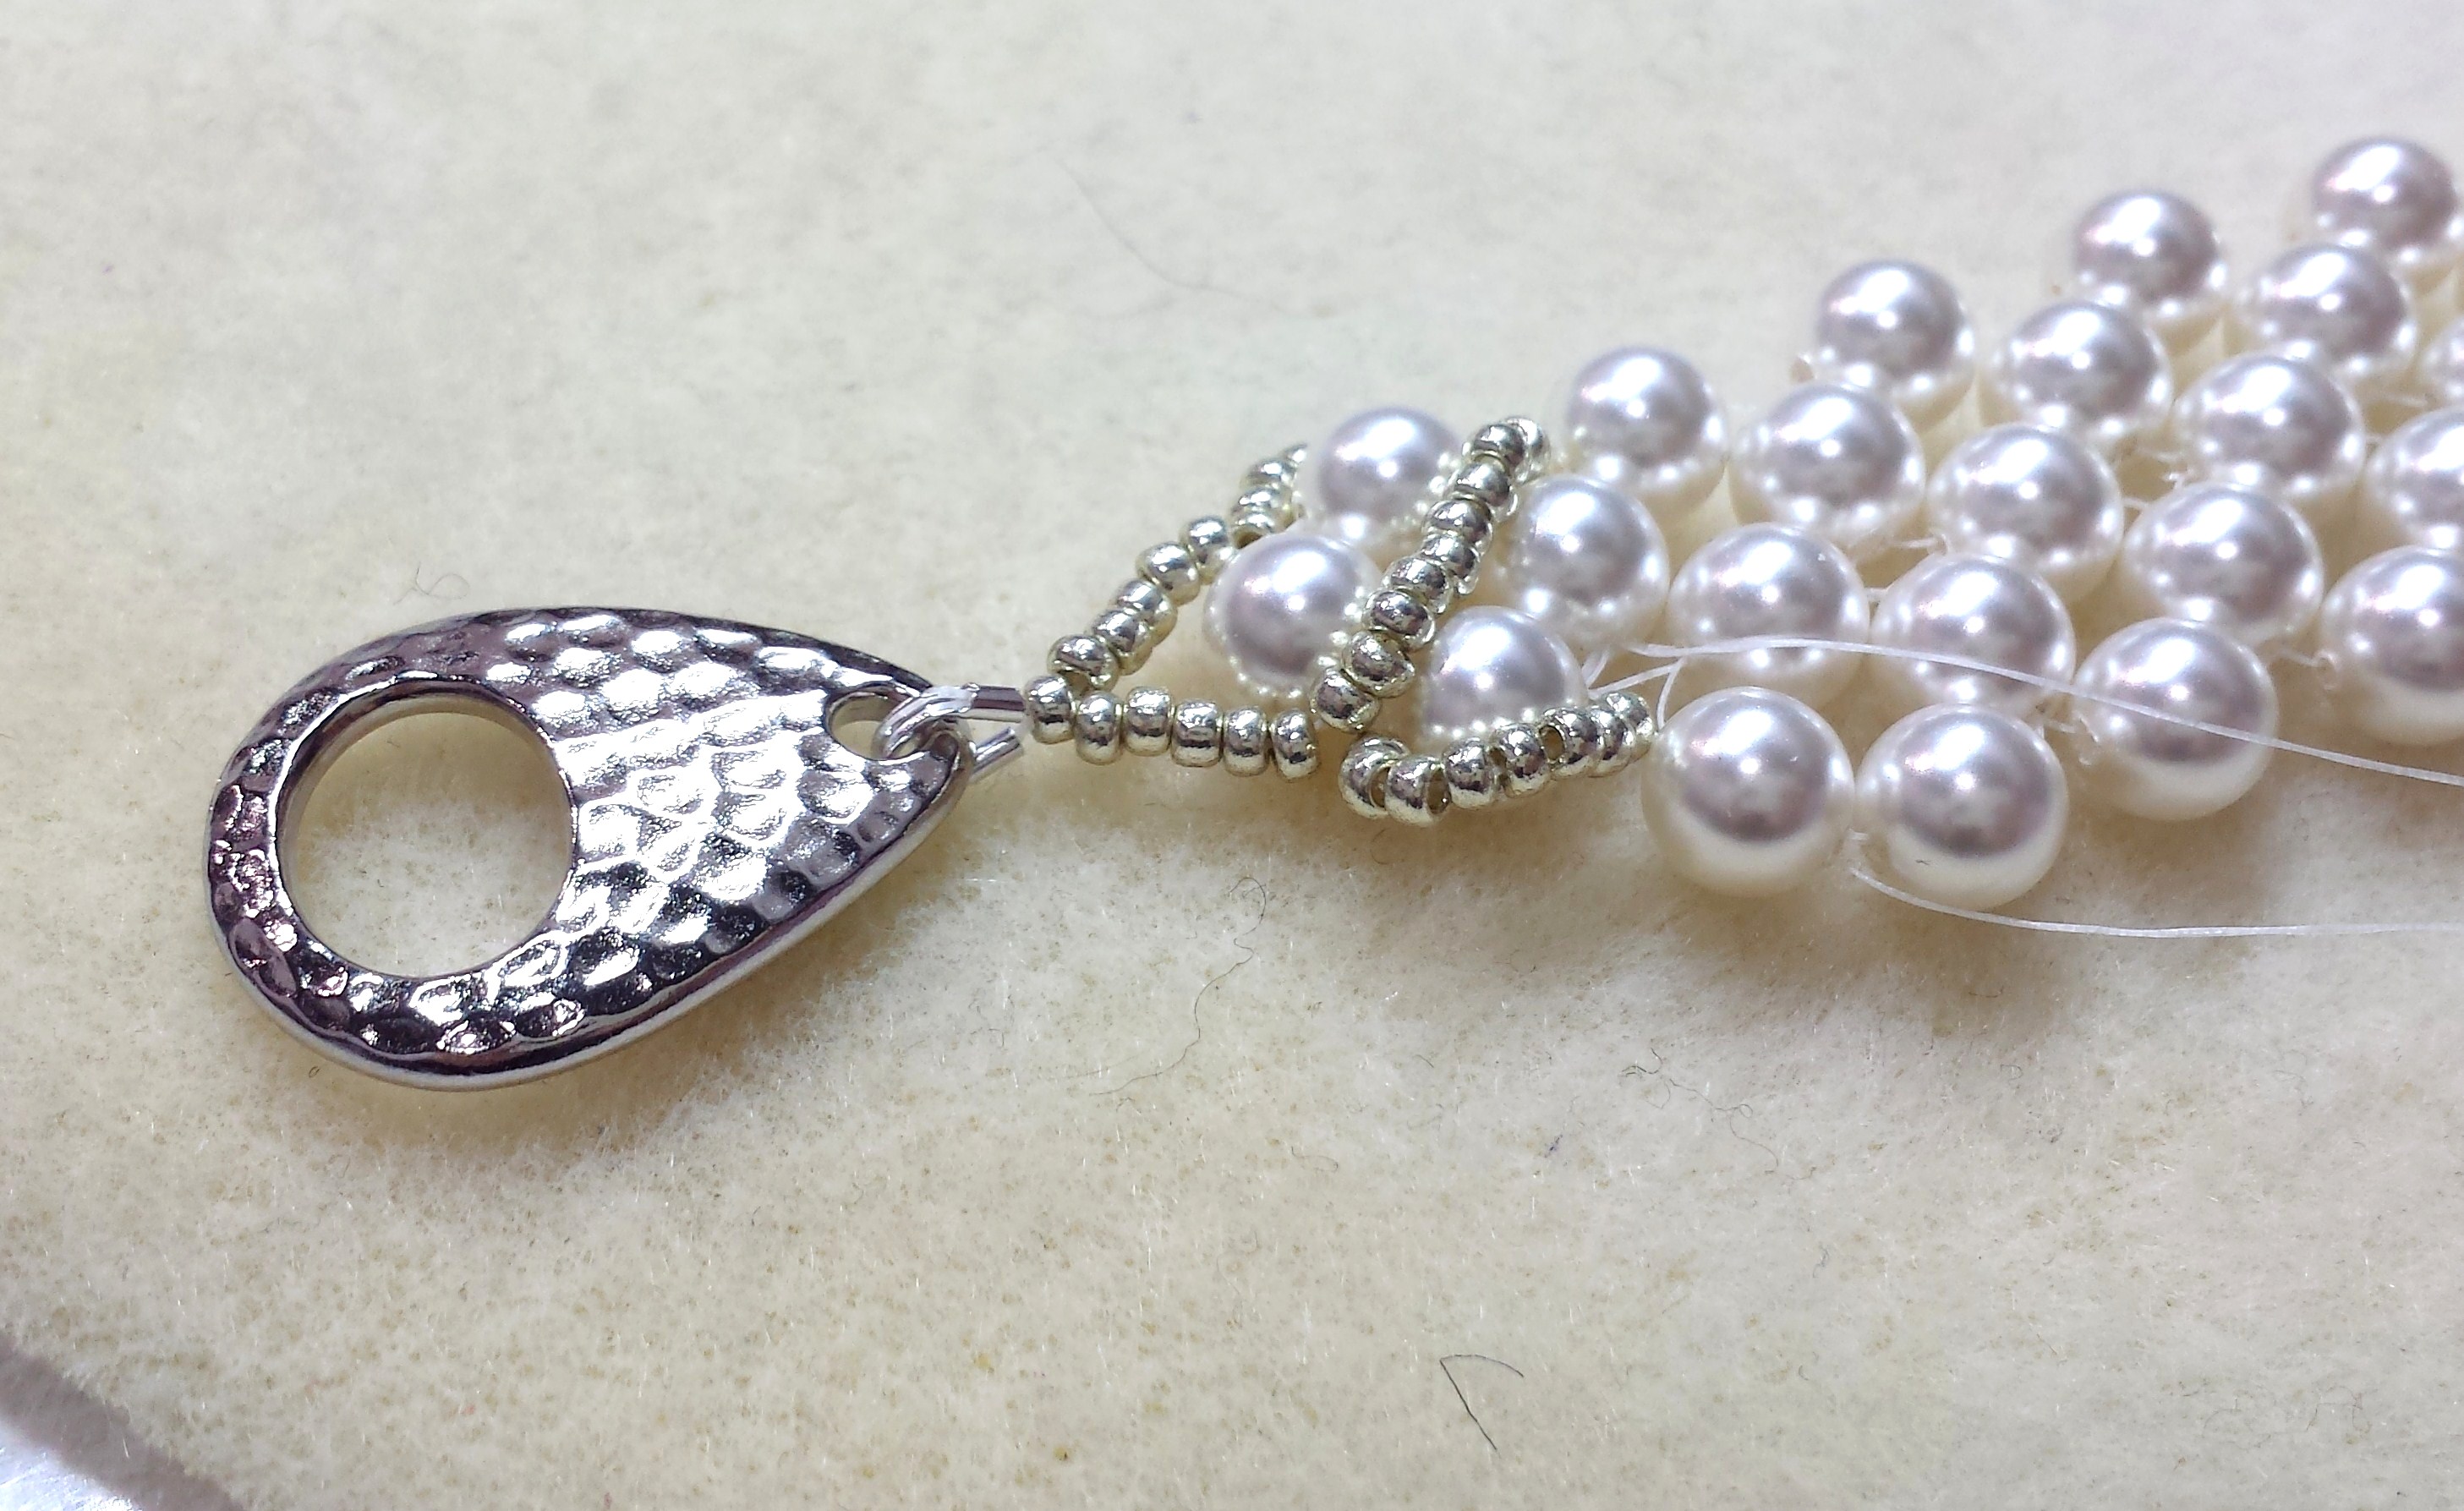 Notice that after you have reinforced your clasp, adding a few rows of seed beads on top of the first diamond will give it a nice finish. To do so add some seed beads so the first pearl is circled with size 8 seed beads only.
Starting from the centre pearl add 9 size 8 seed beads until you reach the exit of the far left pearl on that diamond. As you exit, add 6 more seed beads and surround that pearl in order to get you back with your needle to the space where the bicone first flower is going to lay. Then you can add the other part of the clasp.
To Embellish With Flowers
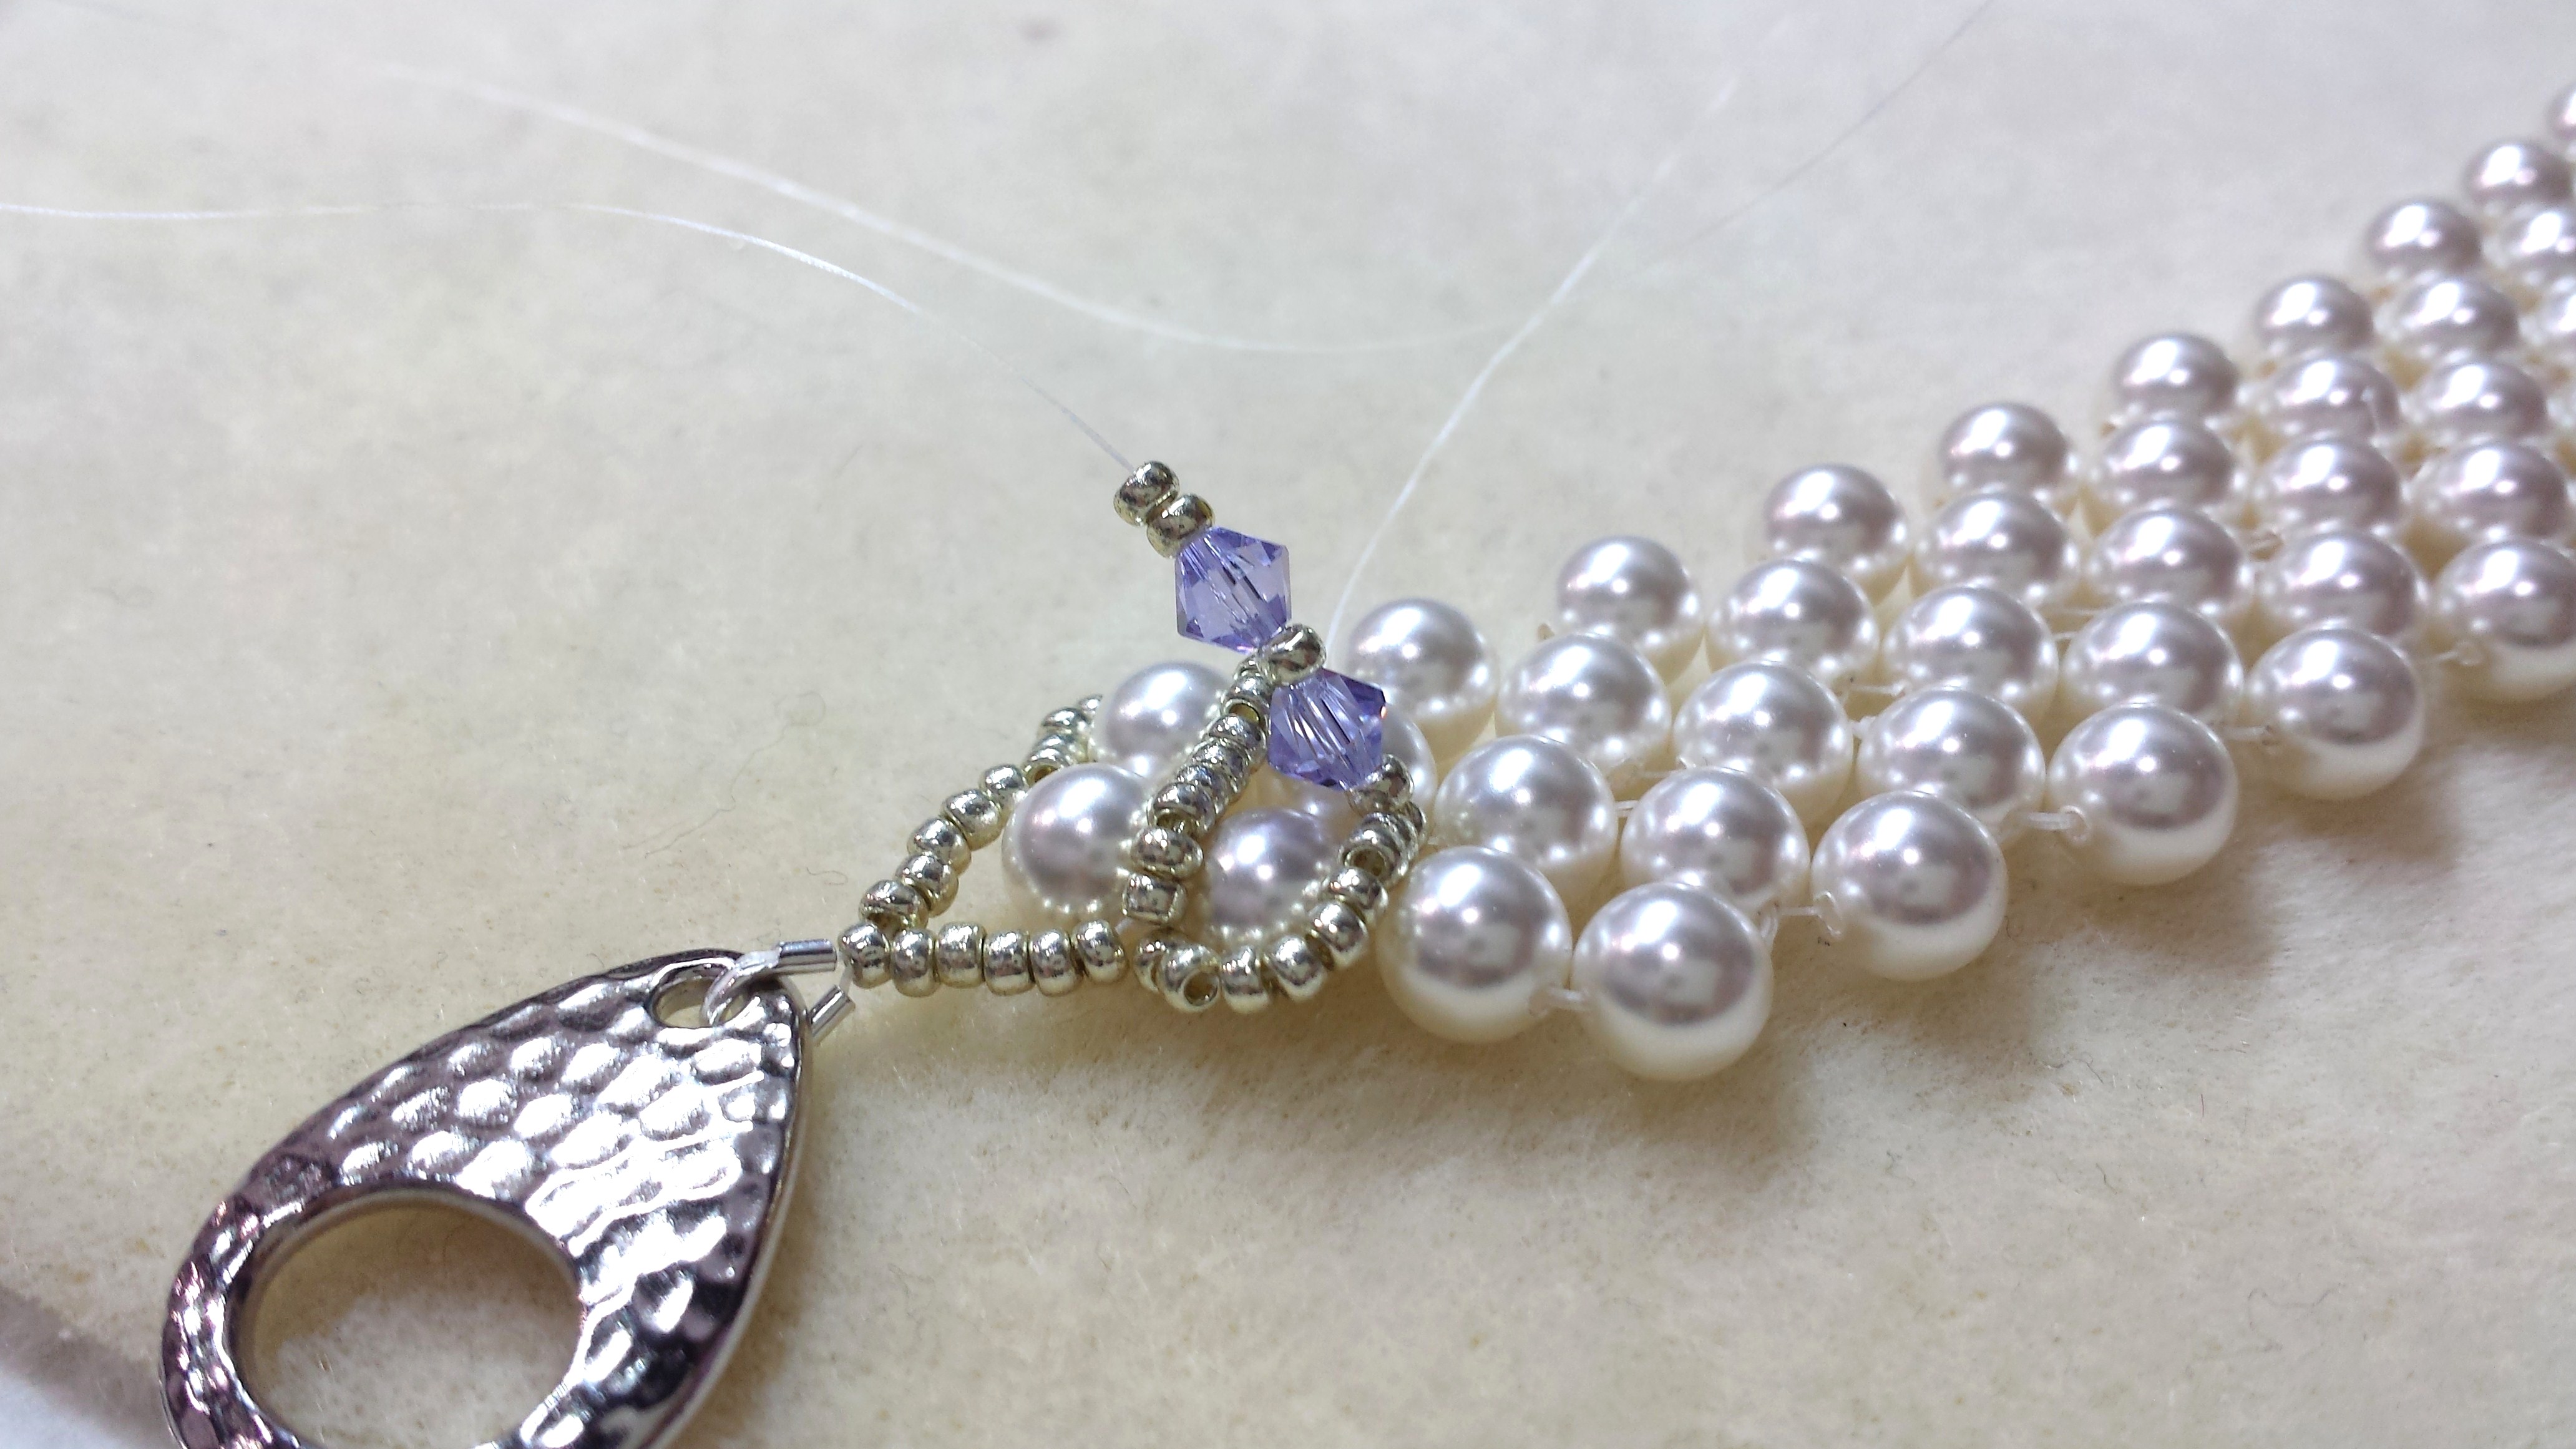
Each flower is formed with 4 bicone beads and 2 size 11 seed beeds on each tip, plus one seed bead in the centre.
STEP 10: This step requires the use of a single needle. Exit with your needle from one side of the pearl. Pick up two size 11 seed beads, one bicone bead, one seed bead (this is the centre of the flower), another bicone bead and two seed beads, like this:

Take the sequence from above and insert it over the opposite hole of the pearl and pull the thread back on this shape being careful that it is resting on top of the diamond. The centre seed bead is going to serve as the middle of the flower and it will help when we cross back adding the next bicone beads to do the other sides of the flower.
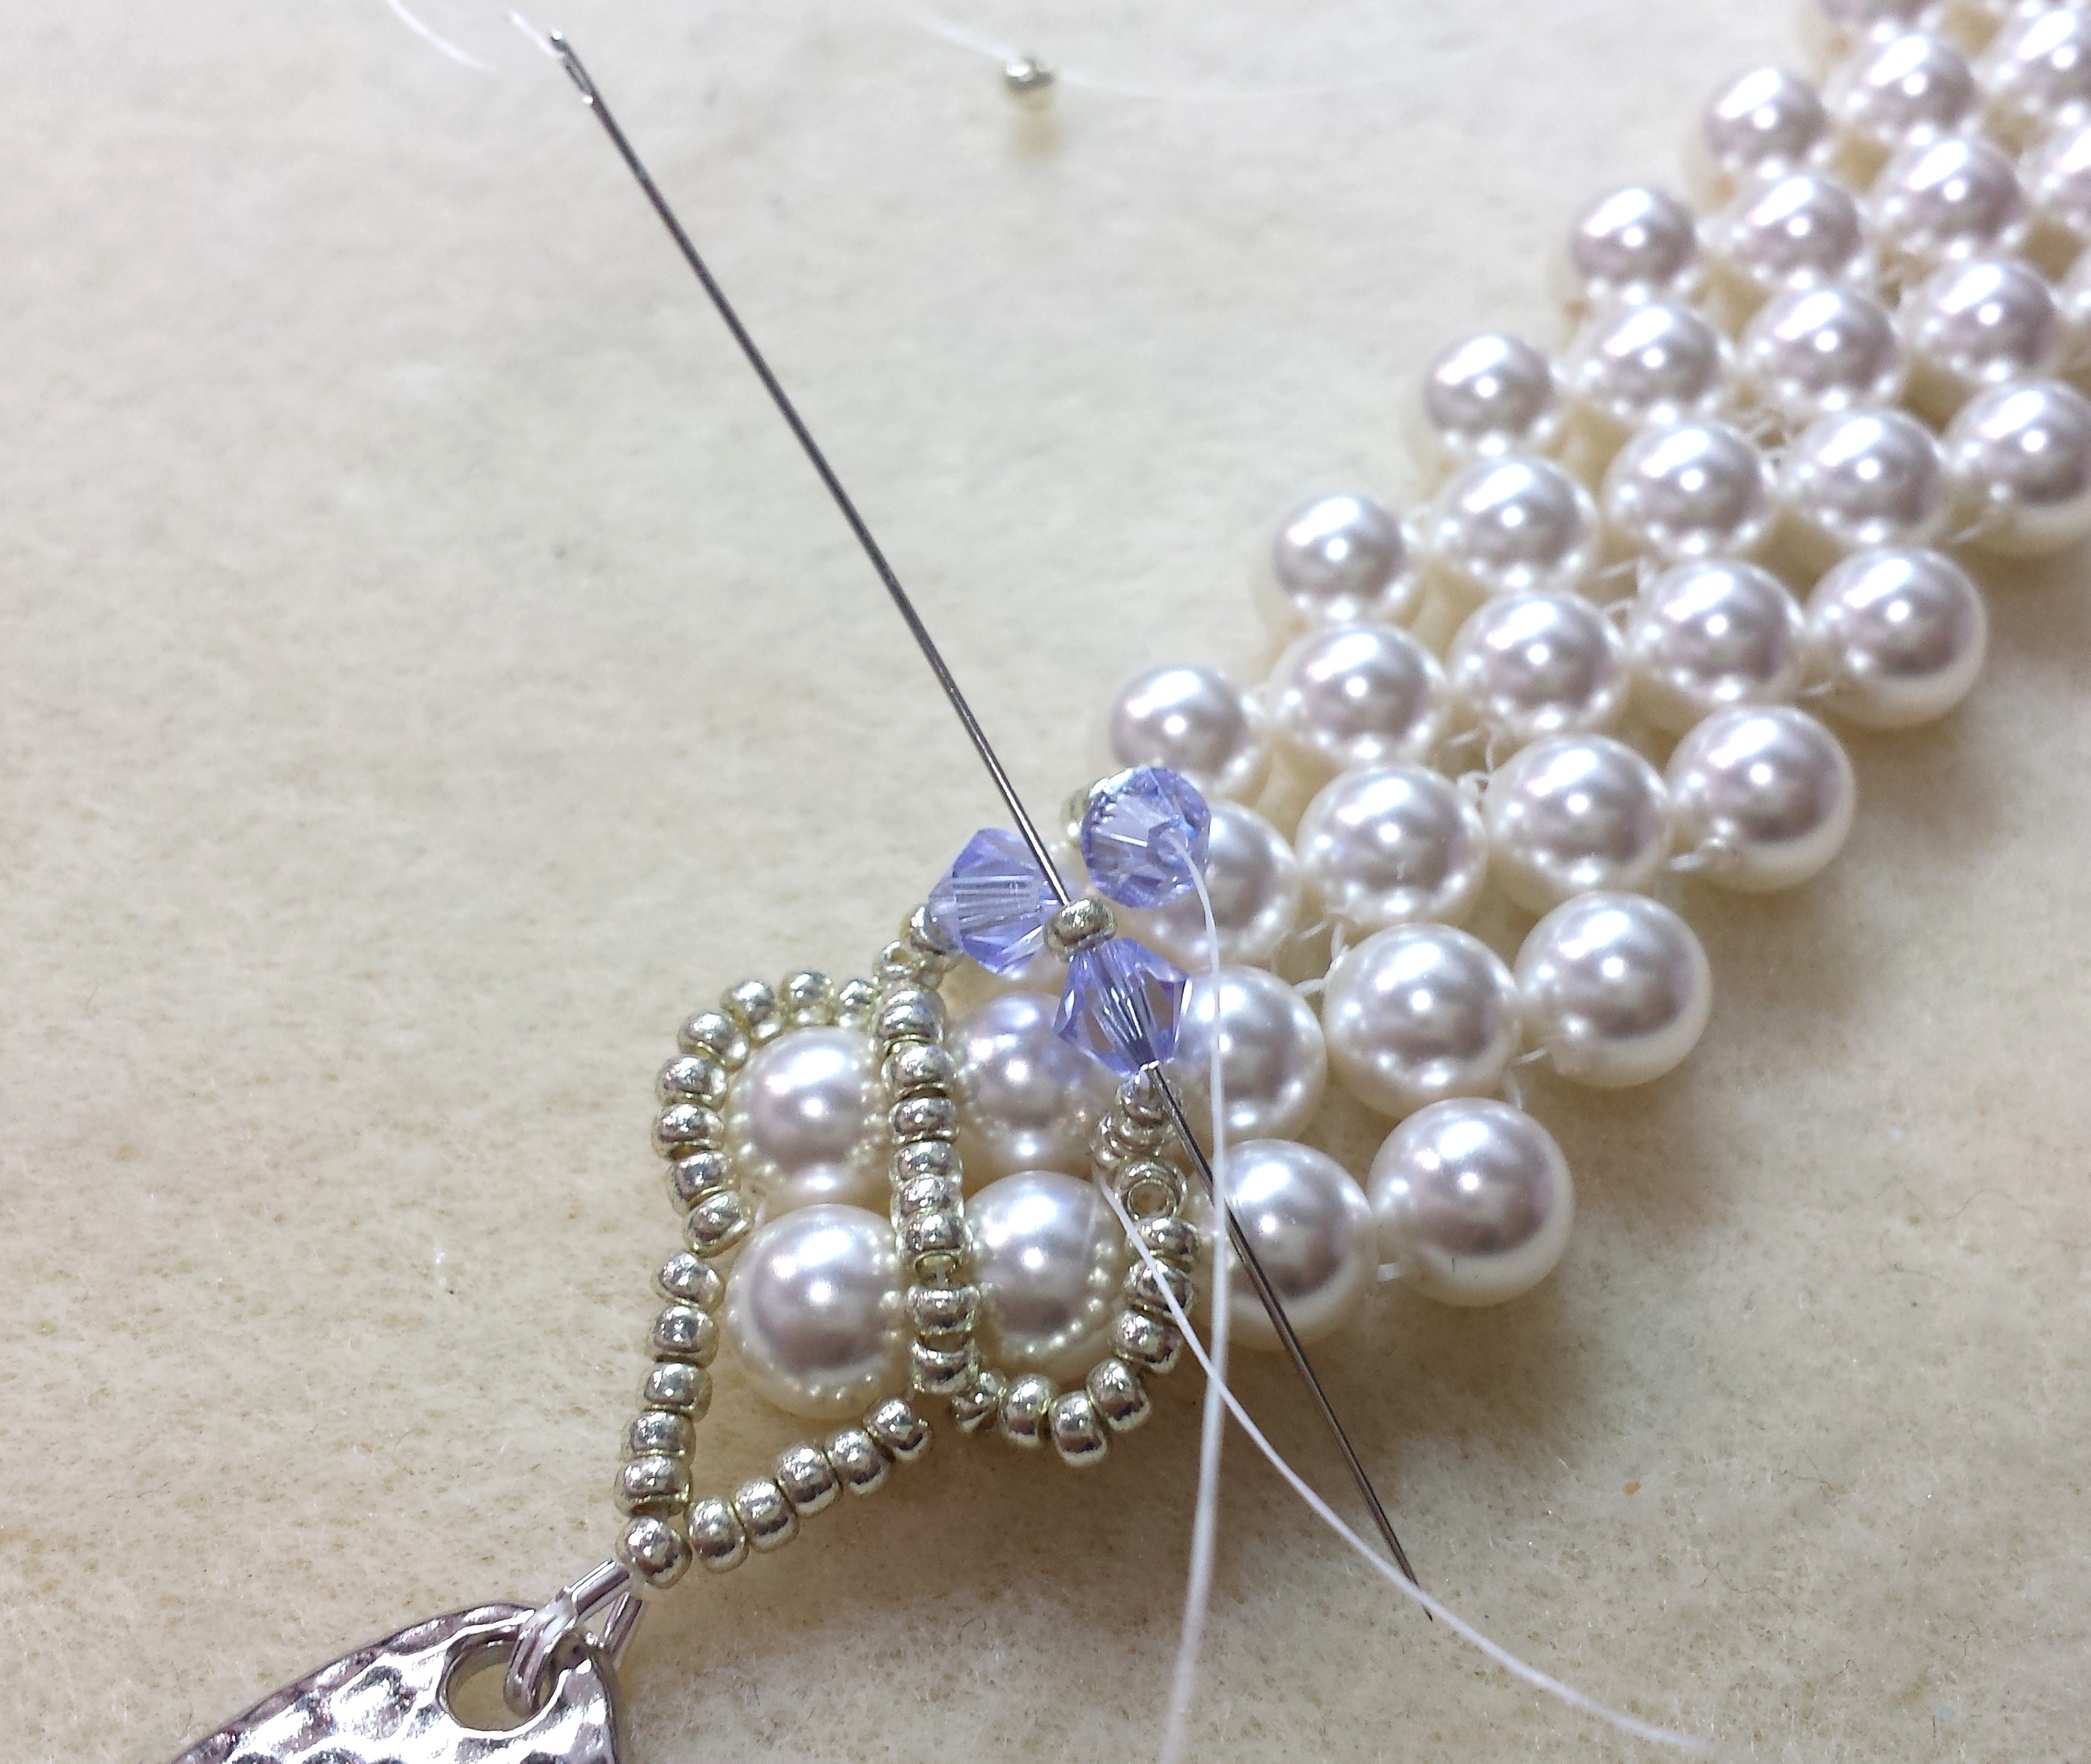 Next, exit with your needle on the opposite side of the pearl and pick up two 11 seed beads then one bicone bead and pass your needle through the centre seed bead and bring your needle in through the opposite side of the pearl, adjacent to the first side of the flower you just shaped.
As you exit, thread again and pick up with your needle 2 size 11 seed beads, the last bicone of the flower and then thread inside the centre seed bead (the middle of the flower), then continue on to the bicone bead next to it, and finally thread it through the pearl which will allow the 4th bicone bead to finish the flower.
Repeat adding flowers to wherever you desire across the necklace.
Bead Around The Entire Necklace
At this point, your necklace is a straight pattern and it won’t lay properly when worn. We will now correct this so that it will nicely around your neck.
STEP 11: Add a thread and start from the beginning of your piece and add on one side on size 11 seed bead in between each diamond. This could be done with the use of a single needle.
On the opposite side, repeat the same thing but add two size 11 seed beads in between each diamond.
As you finished, remember to always secure your piece by knotting few times into different spots. Travel around a few diamonds and try at least to add three tight knots at three different spots. Cut and burn ends with your zapper.